How to add an event
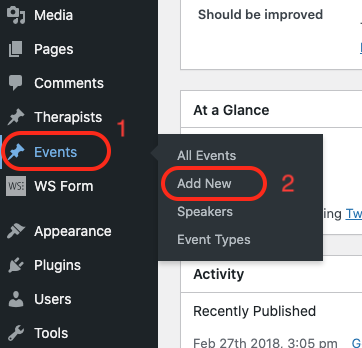
- Go to the main admin dashboard and select 'Events' on the left menu.
- Select 'Add New' on the sub menu.
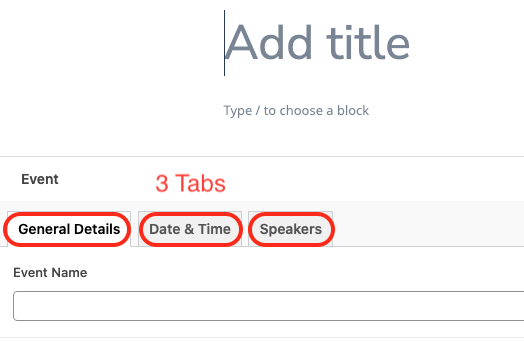
- Use the name of the event as the page's title.

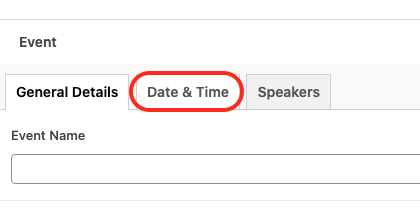
- There are 3 tabs, all with fields that need to be filled out. "Events", "Date & Time" and "Speakers"
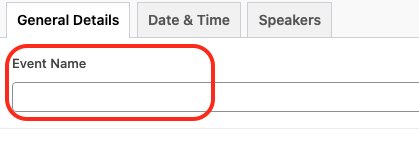
- Starting with the "Events" tab, enter the name of the event. It can be the same as the name of the page.
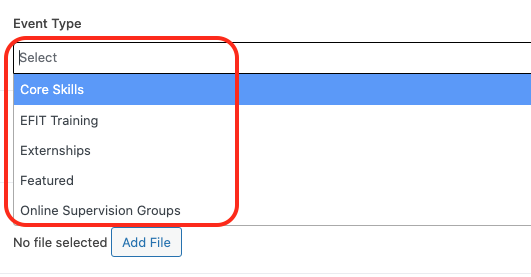
- Click on 'Select' for the event type and choose the type of event from the options in the dropdown menu.
- Click the 'Add Image' button if you wish to upload an image for the event. Files should preferably smaller than 2mb in size, but the image will upload if larger.
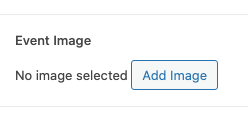
- Make sure to select the 'Upload files' tab, otherwise it will just show the images that are already uploaded.

- Make sure the photo you've uploaded is selected and has a tick. The click the 'Select' button at the bottom-right.

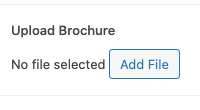
- Feel free to upload a brochure for the event. PDF is the suggested type of document for this, although a JPG or PNG file will also work fine.
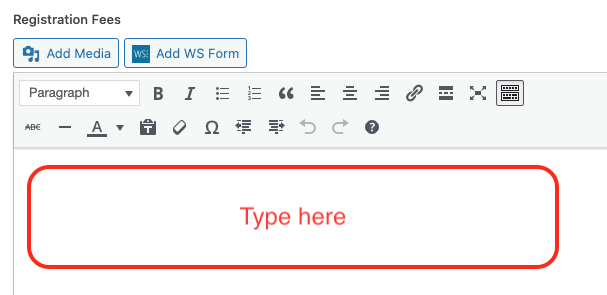
- Add the amount attendees must pay to register for the event.
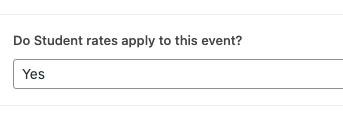
- Select whether student rates apply to the event or not.
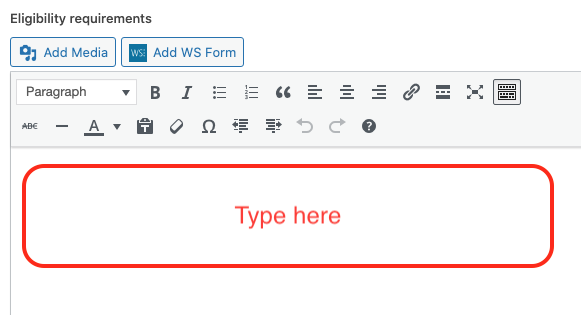
- Add information about Eligibility requirements here if there are.
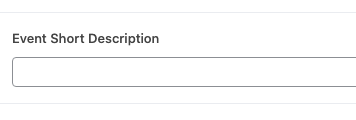
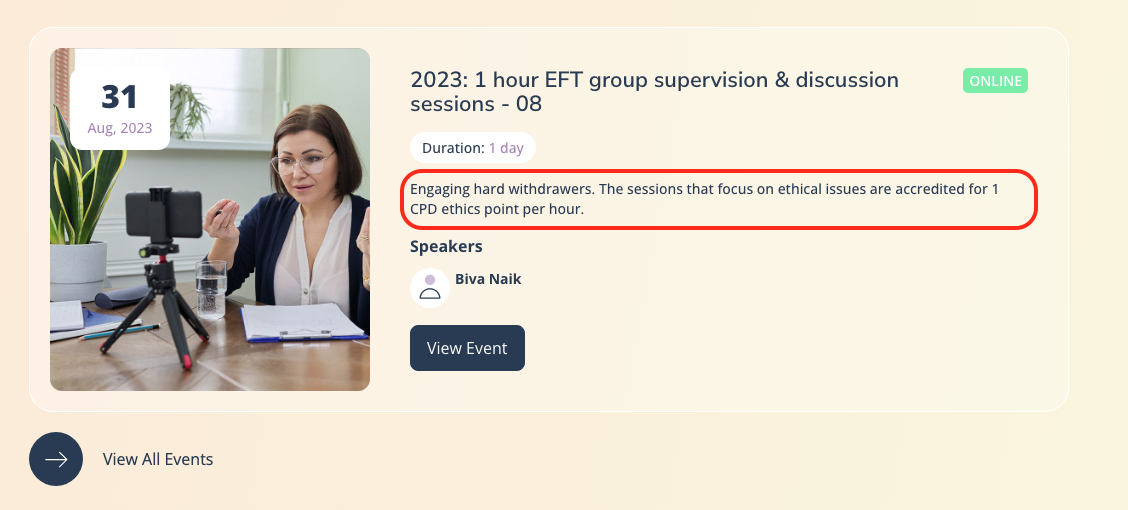
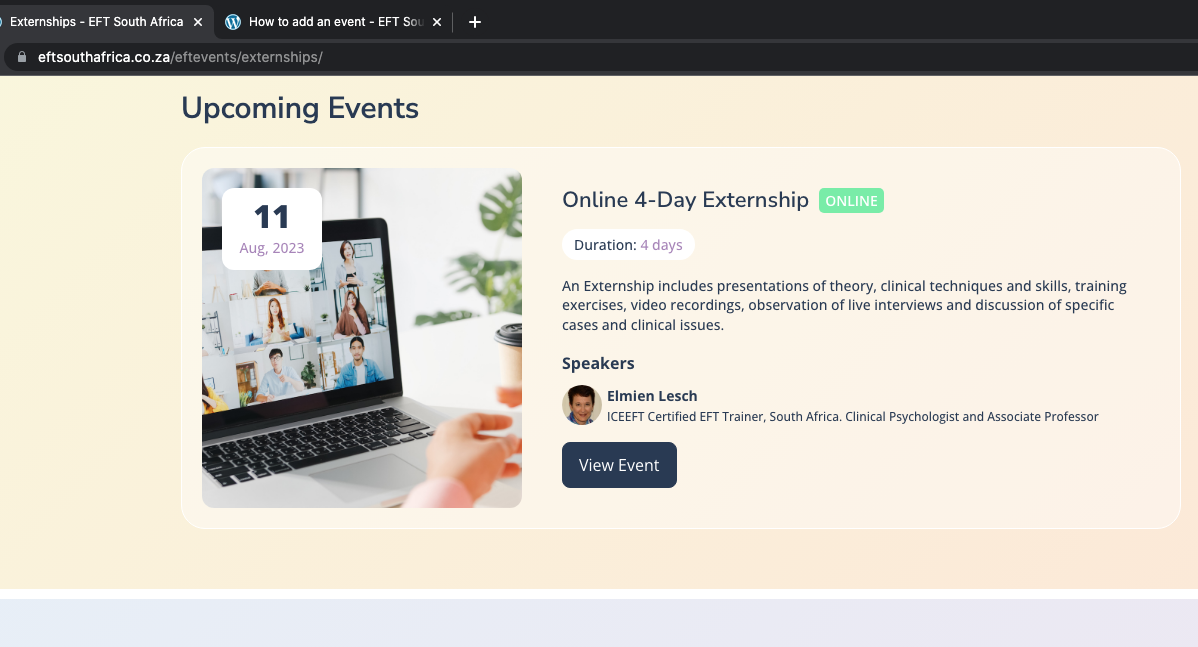
- Add the short description for the event. The text here will appear on event listings throughout the website.
Here's an example of a screenshot taken on the website:
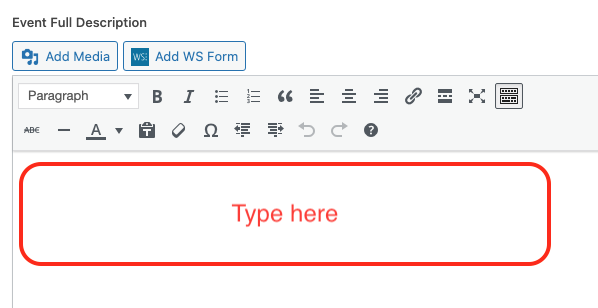
- This is where you add all the information that you have for the event. Anything can go here.
- Scroll up to the top of the page and select the 'Date & Time' tab.
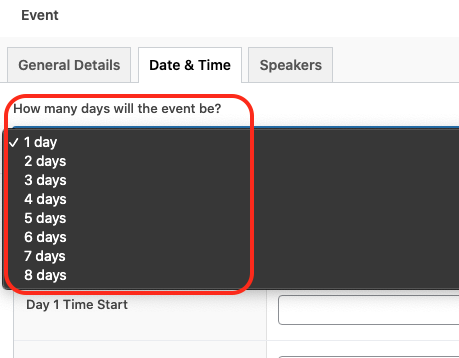
- Select how many days will the event be on the dropdown provided.
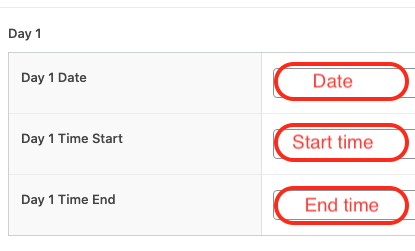
- Make sure to fill out each individual date, start time and end time for each day that you've provided.
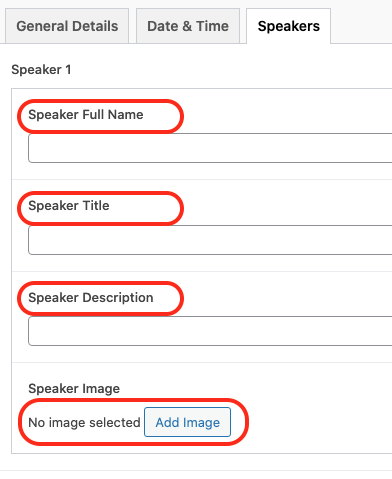
- Scroll up to the top of the page and select the 'Speakers' tab.
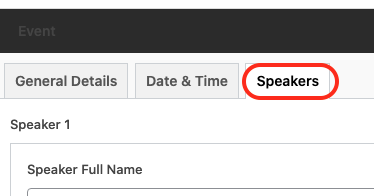
- Enter all the speaker's details and upload the image. Feel free to search the media library for the image of the speaker if it exists already.
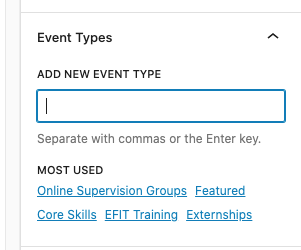
- Enter the event type in the far-right column of the page. This will make sure the event type appears on the page with the same type of events.
See a screenshot from the website as an example below, taken from the 'Externships' page:
- Lastly, make sure to publish the page by selecting the 'Publish' button.
